How to Recover Data from a RAW Drive Without Formatting
Our founder and lead technician, Joseph Montanti, handles cases personally.
You can recover data from a RAW drive without formatting it by reading the surviving file system or extracting files from a full drive image. If the problem is a damaged partition entry or boot sector, that structure may also be repairable after the files are saved. RAW means Windows cannot interpret the volume's file system; the cause can be damaged metadata, unreadable sectors, encryption or an unsupported format.
Check the drive's condition before reconnecting it. Leave a clicking, beeping, grinding, dropped or wet drive powered off for recovery assessment. If an otherwise quiet drive starts freezing, disconnecting or reading extremely slowly, stop; formatting, initializing and repair commands belong only after the needed data is preserved.
On this page
RAW, Unallocated and Not Initialized mean different things
Windows may ask you to format a drive because it cannot mount the existing volume. Closing that prompt leaves you free to recover the data. Accepting it creates new file system structures and can overwrite information that connects files to their names and locations.
The physical disk and its volumes are separate layers. A disk can report its model and capacity correctly while Windows cannot read a volume on it. Equally, a damaged drive may return enough information to identify itself while failing to read the sectors needed to open files.
| Status | What Windows is showing |
|---|---|
| RAW | A volume whose file system Windows cannot interpret. |
| Unallocated | Space outside the partitions Windows currently recognizes. |
| Not Initialized | A disk without a recognized usable partition layout. |
| Recognized NTFS, FAT32 or exFAT with errors | A known file system with access or consistency problems. |
These labels help choose a recovery route. They are not rankings of how much data can be saved. A missing partition entry can leave its files untouched, while one unreadable area holding file system records can block access to a much larger collection of data.
Check a stable drive's connection and capacity
For an external drive with no physical symptoms, a known-good cable and a direct USB port can rule out a bad connection. If another computer opens the volume, use it to save your needed folders on a different drive before troubleshooting further. Investigate the first computer after the data is elsewhere.
Seagate's USB troubleshooting guide uses the port, cable and computer checks, then directs people who still need data from a RAW or Unallocated drive toward recovery. Those checks apply to a stable device, rather than a reason to repower a physically damaged one.
- Open Disk Management from the Windows Start button's right-click menu.
- Find the disk by its capacity and identify the affected volume. Read the status without accepting Initialize Disk or New Simple Volume prompts.
- Check whether the disk itself reports a plausible capacity. A multi-terabyte drive reporting only a few megabytes or no media needs investigation of the device and connection before a file scan.
- If the drive came from a Mac, Linux system or encrypted enclosure, check its original format and unlock method. Use its original supported environment if it remains stable.
A locked drive can look empty to the wrong software. Seagate specifically notes that a locked One Touch with Hub can appear uninitialized and unallocated until unlocked. For BitLocker, preserve the recovery key or other configured unlock method; the BitLocker recovery guide covers that separate step.
Preserve the metadata as well as the files
The partition table describes where volumes begin and end. Within a volume, a boot sector supplies information needed to interpret that file system. NTFS also uses the Master File Table, or MFT, to describe files and locate their contents. Damage at one of these layers can make a drive appear RAW even when other sectors remain readable.
The NTFS mirror is limited. Microsoft describes $MftMirr as a backup of the first four MFT records. It can help repair those records; it is not a second complete directory of every file on the drive. That is why a surviving mirror does not automatically restore all names and folders.
Interrupted writes can damage these structures, and unreadable storage can prevent them from being read. A recovery program may rebuild the directory from remaining records or search the file contents directly. Preserving both gives it more to work with than formatting the volume and scanning afterward.
Make a sector-level image of a stable source before scanning or repairing it. An image includes partition information, file system structures and the data outside visible files. The destination must be separate storage with room for the source's capacity and the recovered output.
R-Studio's image feature can create an image and reopen it for recovery. A raw, byte-for-byte image is also usable by TestDisk and PhotoRec. A compressed image may require the program that understands its format, so choose the format to suit the recovery tool you plan to use.
GNU ddrescue is another imaging option for someone familiar with Linux block devices. Its manual explains that it copies good areas first and keeps a mapfile so work can resume. That does not turn a mechanically failing drive into a safe DIY project. The mapfile also matters when interpreting an image: unreadable regions are missing data, even though the image file itself opens normally.
Extract files before repairing the file system
Start with a recovery tool that can reconstruct the directory from surviving records. This can preserve names, folders and the locations of fragmented files. If the directory is too damaged, file carving offers another way to find recognizable contents, with more sorting and checking afterward.
R-Studio: examine recognized partitions
R-Studio scans for both file system structures and known file types. The recovery workflow below follows the maker's damaged external-disk example, applied to your image.
- Open the image, select it and choose Scan. Enable Extra Search for Known File Types if you also need a signature search.
- Review the Recognized partitions. Look for the volume size, folders and files that belong to the data you lost.
- Preview several wanted files. If a recognized partition is incomplete, examine the other plausible results and Extra Found Files.
- Select the files to recover and save them to a different drive. Open the saved copies and check their contents.
Extra Found Files at the disk level contains files located by signatures, which may have lost their original names. The maker distinguishes that from similarly named folders inside a recognized partition. Multiple results can reflect old layouts as well as current data, so the first plausible partition is not automatically the right one.
R-Studio costs around $80. Its demo can be used to inspect scan results and previews; license and file-size limits depend on the edition. A preview can show only part of a file, so use the saved full file to judge completeness.
PhotoRec: search without the original directory
PhotoRec searches for recognizable file contents when the file system cannot be reconstructed. It comes with TestDisk and can open a raw image with photorec image.dd. Choose the relevant partition or image area, set the file types you need, and save its output to separate storage.
Use Other for the file system family when the lost volume was NTFS, FAT or exFAT; the other choice is for ext-family file systems. A whole-area search is appropriate when the volume is corrupt or formatted. The PhotoRec walkthrough gives the menu details.
Carving can return photos, documents and videos with generated names. It loses the original folder relationships when they are unavailable, and fragmented files may be incomplete because their pieces were stored in different areas. A file beginning with a recognizable header still needs its remaining contents to be useful.
Filter by the file types you need if the output becomes unwieldy. Check documents beyond the first page and videos beyond the first frame. Keep the image while you assess the results; it gives another tool access to the same preserved source without rereading the physical drive.
DMDE and GetDataBack
DMDE's free edition allows recovery of up to 4,000 files from the active panel in a single operation. Paid editions remove that limit and allow nested-directory recovery. It also has editing functions, so use its file-copy route while extracting data.
GetDataBack Pro costs $79 and supports NTFS, FAT, exFAT, Linux EXT and Mac HFS+/APFS in one product. The older separate FAT and NTFS product description no longer applies. These tools provide alternative interpretations of the preserved data; none can fill in sectors that were never read into the image.
Repair a working copy with TestDisk
After saving the wanted files, TestDisk can repair a damaged partition layout or boot sector without formatting. Make a second working copy of the image for these changes and keep the first image intact. The command testdisk working-copy.dd explicitly opens that copy, as documented in the TestDisk walkthrough.
- Open the working image and confirm that the displayed size matches your image, rather than selecting a physical source disk.
- Confirm the partition-table type. Intel means an MBR layout; EFI GPT means GPT. Use the detected type when it matches the known disk layout.
- Choose Analyse, then Quick Search. If the expected partition is absent, use Deeper Search.
- Highlight a plausible partition and press
pto list files. Inspect the names and folders before deciding that the result is the wanted partition. - Use Write only on this working copy after the correct layout is established and the files are saved. Reopen the copy in recovery software to check the result.
Overlapping partition results require interpretation. They can come from previous layouts or damaged records. Writing all of them, or choosing one because its size looks familiar, can create a layout that hides the wanted volume. File listings and boundaries need to agree.
When the partition boundaries are correct but its boot sector is damaged, TestDisk offers Advanced, the partition, then Boot. On the working copy, a valid backup boot sector can be copied with BackupBS. If both boot sectors are damaged, RebuildBS can construct a candidate; List lets you inspect files before writing it. These are distinct operations in the developer's repair instructions.
Repair MFT compares the NTFS MFT with its mirror. It is useful for damage within what the mirror covers, rather than a way to reconstruct every missing file record. If both sources are damaged, extracting files from other surviving metadata or by signatures remains a separate recovery task.
“CHKDSK is not available for RAW drives”
This error means CHKDSK has no recognizable file system it can check on that volume. A damaged FAT or NTFS boot sector can produce it, as TestDisk's documentation explains. Formatting merely to make CHKDSK run replaces the original structures you are trying to recover.
The command chkdsk X: /f requests repairs, and /r also searches for bad sectors and attempts to recover readable information. Microsoft documents those write-capable options. They belong after file recovery or on an expendable working clone, where changes cannot destroy the only copy.
A drive recognized as NTFS with consistency errors is different from one Windows cannot interpret at all. CHKDSK can address supported file system errors once the volume is readable, but it does not repair failed heads, a controller or a USB connection. The CHKDSK RAW error guide covers that message in more detail.
Mac, Linux and SSD differences
A Mac may report that a disk is unreadable instead of labeling it RAW. Its original file system still matters. On a supported readable volume, recover the files first; Apple's Disk Utility instructions call for a current backup before First Aid. First Aid modifies file system structures in an attempt to repair them.
TestDisk and PhotoRec also run on macOS and Linux. On a Mac already using Homebrew, brew install testdisk installs both tools, as shown in the official formula. Install them on the healthy computer's storage, then open your preserved image.
A Linux live USB provides another operating environment, but it is not a write blocker. Follow the imaging tool's instructions about unmounted source devices and work from the image afterward. Booting another operating system does not fix an unreadable physical sector.
An SSD can become RAW when its file system is damaged or its storage stops returning the needed data. TRIM adds a separate issue after deletion or formatting: the operating system can tell the SSD that blocks are no longer needed, and the controller can reclaim them. Kingston explains TRIM and garbage collection. Windows showing RAW does not itself instruct the controller to erase the entire drive.
When the unreadable file system starts with failing hardware
Recovery software depends on the drive returning usable sectors. Repeated timeouts, changing detection or unreadable areas containing file system records can prevent even a correctly chosen program from finding the files. Three empty software scans do not establish a particular hardware fault; the next step is to assess why the data is unavailable.
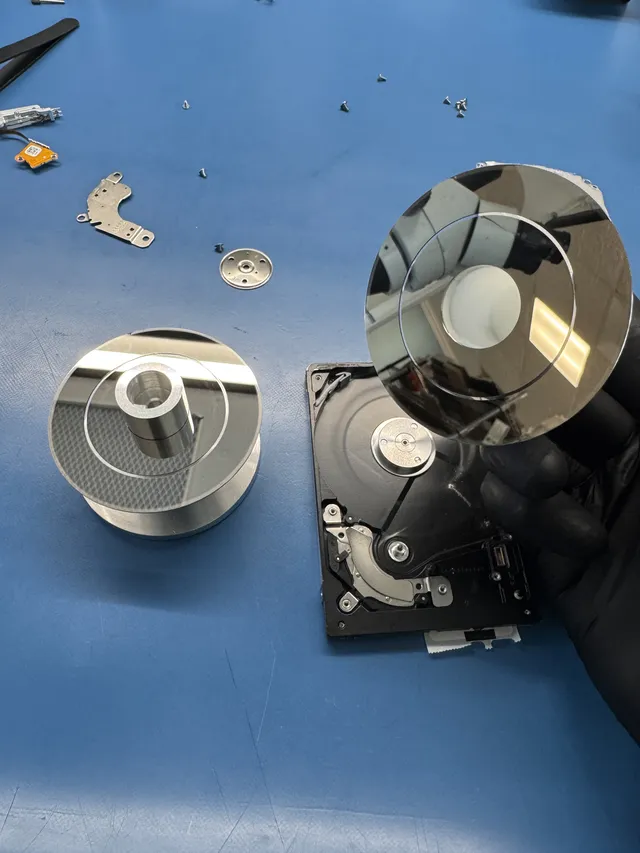
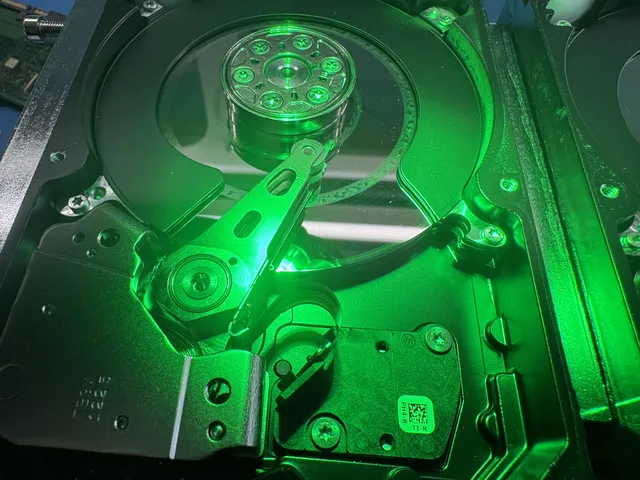
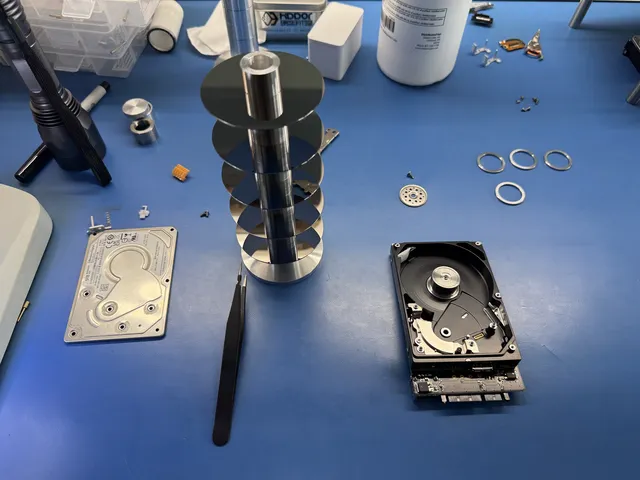
Hard drive recovery may require work on the drive before imaging can proceed. Head and platter work at MDrepairs takes place in a laminar-flow work area. The diagnostic costs $100, credited toward a successful recovery, and you approve the recovery estimate before work starts.
If the files have been recovered from a purely logical fault, decide whether to repair or replace the original drive after checking the copies. A drive that has developed physical read failures remains faulty even if its volume becomes accessible again. Recovering its directory does not make the underlying storage reliable.
Get help with data recovery
Bring your device to our Lincroft lab during opening hours, or mail it in.
How to mail your deviceThe $100 diagnostic is non-refundable once diagnostics start, and donor drives or replacement parts you approve are non-refundable once ordered, even if recovery fails.
Published by MDrepairs
MDrepairs is a data recovery and electronics repair lab in Lincroft, New Jersey. Our founder and lead technician Joseph Montanti films real cases for our YouTube channel, showing tools, repair steps and recovery outcomes.
Keep reading
- External Drive Says “The Parameter Is Incorrect”: Data-Safe Checks
- External Hard Drive Freezes File Explorer or the Computer: Safe Next Steps

- “The Semaphore Timeout Period Has Expired” During a Drive Copy